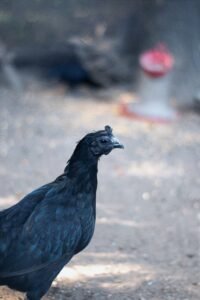
Imagine your chickens happily rolling around in a cloud of dust, fluffing their feathers and preening their shiny plumage. Creating a dust bath area for your feathery friends is not only essential for their physical and mental well-being but also a delightful sight to behold. In this article, we will explore the simple yet effective steps you can take to provide your chickens with a dust bath area that will keep them healthy, content, and ready to strut their stuff. So, grab your gardening gloves and let’s get started on giving your chickens the best spa treatment they could ask for!

Choosing the Right Location
When creating a dust bath area for your chickens, it is important to choose the right location that will provide them with a comfortable and safe space. There are several factors to consider when selecting the perfect spot.
Finding a Sheltered Area
Look for a location that offers some form of shelter for your chickens. This could be provided by nearby trees, shrubs, or buildings. The shelter will protect the chickens from excessive wind or rain while they are enjoying their dust bath.
Selecting a Flat and Dry Spot
Ensure that the chosen location is flat and dry. A flat surface will make it easier for your chickens to navigate the area and will prevent any potential injuries. Additionally, a dry spot will help to prevent the dust bath area from becoming muddy and unappealing.
Considering Easy Access for Chickens
Choose a location that is easily accessible for your chickens. Ideally, this area should be located within their existing coop or run, allowing them to easily move between their living space and the dust bath area. Easy access will encourage regular use and ensure that the dust bath is readily available for your feathery friends.
Preparing the Area
Once you have chosen the perfect location for your new dust bath area, it is time to prepare the area to ensure optimal conditions for your chickens.
Clearing Vegetation
To create a suitable dust bath area, it is essential to clear any vegetation or plant material from the ground. This will prevent weeds or grass from growing and taking over the dust bath area. Regular maintenance should include periodic weed removal to maintain the cleanliness and efficiency of the space.
Leveling the Ground
Before introducing any materials, take the time to level the ground in the chosen area. A level surface will provide your chickens with a stable and comfortable dust bath experience. Remove any rocks or debris that may cause discomfort or injury to your chickens during their bath time.
Providing Drainage
One often overlooked aspect of preparing the dust bath area is ensuring proper drainage. If the area tends to collect water or become overly saturated, it can discourage your chickens from using the area. Create a slight slope or incorporate drainage channels to allow water to flow away from the dust bath area, keeping it dry and inviting.

Building the Dust Bath Area
Now that the location is prepared, it’s time to build the dust bath area itself. There are a few important considerations to keep in mind during this step.
Choosing the Container
First, determine the container in which you will create the dust bath area. This can include items such as an old tire, a wooden box, or a shallow plastic bin. The container should be sturdy, easy to clean, and large enough to accommodate your chickens comfortably.
Using Natural Materials
Fill the container with natural materials that allow the chickens to effectively bathe. Chicken-friendly materials include sand, soil, and wood ash. These materials will provide your chickens with the ideal texture for dust bathing and the opportunity to clean their feathers thoroughly.
Determining the Size
The size of the dust bath area will depend on the number of chickens you have and the available space. It is recommended to provide at least one square foot of space per chicken, but more space is always better. A larger dust bath area will prevent overcrowding and allow the chickens to fully extend their wings while bathing.
Creating a Dust Bath Mixture
The dust bath mixture is a crucial component in creating a pleasant and effective dust bath area for your chickens. The right mixture will provide them with a clean and pest-free experience.
Using Sand
Sand is the primary ingredient in a dust bath mixture. It provides the necessary grit for your chickens to clean their feathers effectively. Look for coarse, gritty sand that will help remove dirt, oils, and parasites from their feathers.
Adding Soil Components
In addition to sand, incorporate soil components into the mixture. This can include garden soil, compost, or potting soil. Soil adds moisture and natural oils to the mixture, enhancing the cleaning properties and ensuring that the dust bath area remains inviting for your chickens.
Mixing in Pest Control Agents
To keep parasites and pests at bay, consider adding pest control agents to the dust bath mixture. Diatomaceous earth or wood ash are excellent natural options that can help deter mites, lice, and fleas. These pest control agents are safe for your chickens while effectively combating unwanted guests.

Maintaining the Dust Bath Area
Regular maintenance is essential to keep the dust bath area clean, inviting, and safe for your chickens.
Regular Cleaning
To ensure proper hygiene, it is important to regularly clean the dust bath area. Remove any visible debris, droppings, or feathers that may collect in the area. Periodically replacing the entire dust bath mixture will also help maintain a clean environment for your chickens.
Controlling Moisture
Monitor the moisture levels in the dust bath area. Excessive moisture can cause the mixture to clump together, making it less effective for your chickens. If you notice dampness, add dry sand or soil to absorb the moisture and restore the ideal texture.
Replacing or Refilling Materials
Over time, the dust bath mixture may become depleted or contaminated. It is important to regularly replace or refill the materials in the dust bath area to ensure its effectiveness. This will provide your chickens with a fresh and clean bathing experience.
Encouraging Chicken Use
While creating a dust bath area is important, encouraging your chickens to use it is equally crucial. Here are some tips to help encourage your feathered friends to make the most of the dust bath area.
Demonstrating the Dust Bath Area
Introduce your chickens to the dust bath area by showing them how to use it. Gently pick up a handful of the dust bath mixture and sprinkle it over the chickens, encouraging them to hop in and start bathing. Repeat this process regularly to reinforce the idea of using the dust bath area.
Ensuring Safety and Privacy
Chickens prefer a calm and quiet environment when taking their dust baths. Ensure that the area is free from any potential disturbances or predators. Providing some form of privacy, such as a screen or surrounding bushes, can also help your chickens feel more secure and comfortable.
Monitoring and Encouraging Use
Monitor your chickens’ behavior to determine if they are utilizing the dust bath area. If they seem hesitant or aren’t using it as frequently as desired, sprinkle some treats or scratch grains on the dust bath area to entice them. This positive reinforcement will encourage them to explore and use the designated space.

Common Questions and Concerns
As with any new addition to your chicken care routine, you may have some questions or concerns. Here are answers to a few common inquiries regarding dust bath areas for chickens.
Can Dust Bath Areas be Shared?
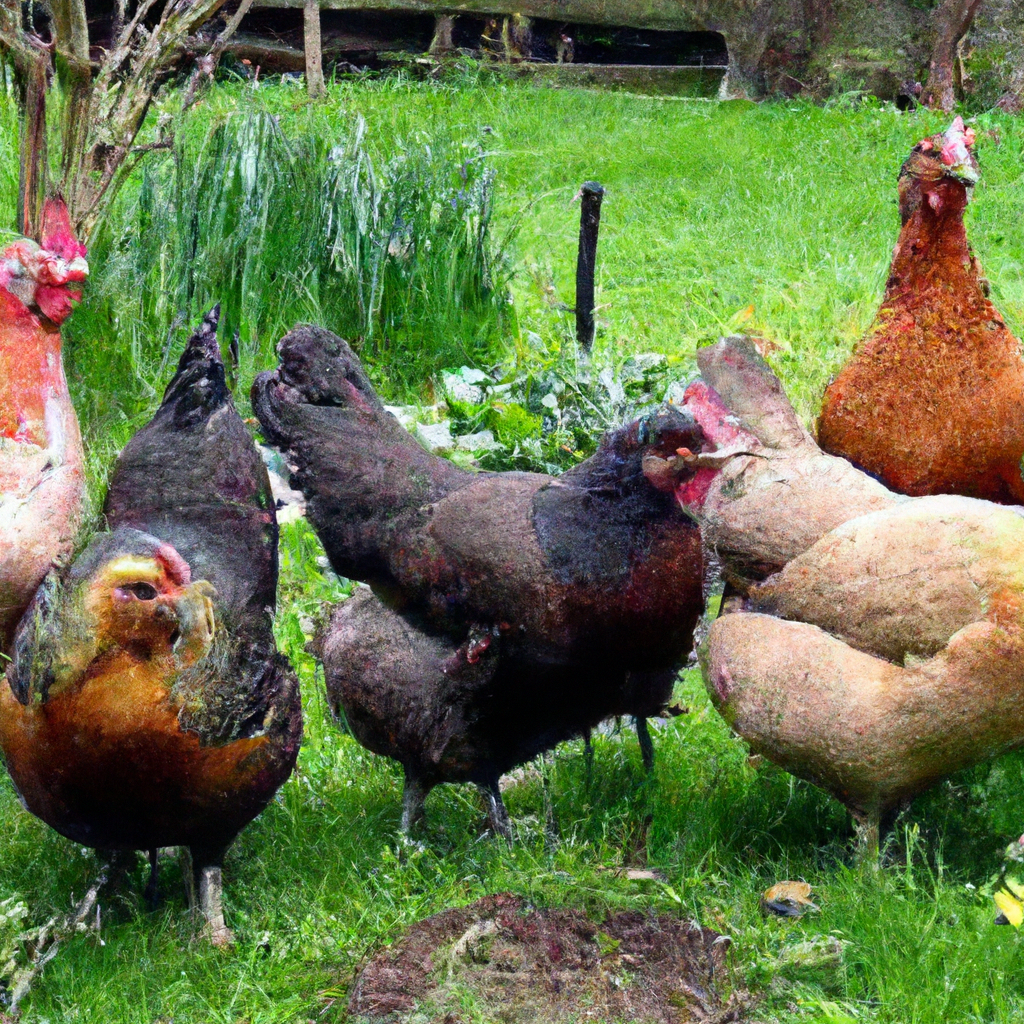
Yes, dust bath areas can be shared among chickens. In fact, chickens often enjoy dust bathing together, as it allows them to socialize and bond. However, it is important to ensure that the dust bath area is large enough to accommodate all chickens comfortably.
What if Chickens Don’t Use the Dust Bath?
If your chickens are not initially using the dust bath area, don’t worry. It may take some time for them to become accustomed to the new space. Continue to demonstrate, monitor, and encourage their use of the area. Adding their favorite treats to the dust bath can also help entice them to explore and utilize the space.
What if the Dust Bath Area Attracts Pests?
While a well-maintained dust bath area should not attract pests, it is possible for some insects to be drawn to the area. Regular cleaning and maintenance will help reduce the risk of pests. Additionally, adding pest control agents to the dust bath mixture can further deter unwanted visitors. If you notice an increase in pests, reassess the maintenance routine and adjust as necessary.
By following these steps and incorporating a dust bath area into your chickens’ living space, you are providing them with an essential and enjoyable part of their daily routine. Remember to regularly clean and maintain the area to ensure its effectiveness and keep your chickens happy and healthy. So go ahead, create that perfect dust bath area, and watch your chickens revel in their newfound bathing paradise!