In this article, you will discover the finest techniques for urban vermiculture and worm composting. Whether you’re a passionate gardener, an environmentally-conscious individual, or simply curious about sustainable practices, this guide will provide you with valuable insights on how to successfully implement these methods in an urban setting. From selecting the ideal worm species to maintaining a healthy composting system, you’ll learn everything you need to know to create nutrient-rich soil for your plants while reducing your carbon footprint. So, let’s roll up our sleeves and embark on a fascinating journey into the world of urban worm composting!

Selecting the Right Worms
Understanding the Types of Worms
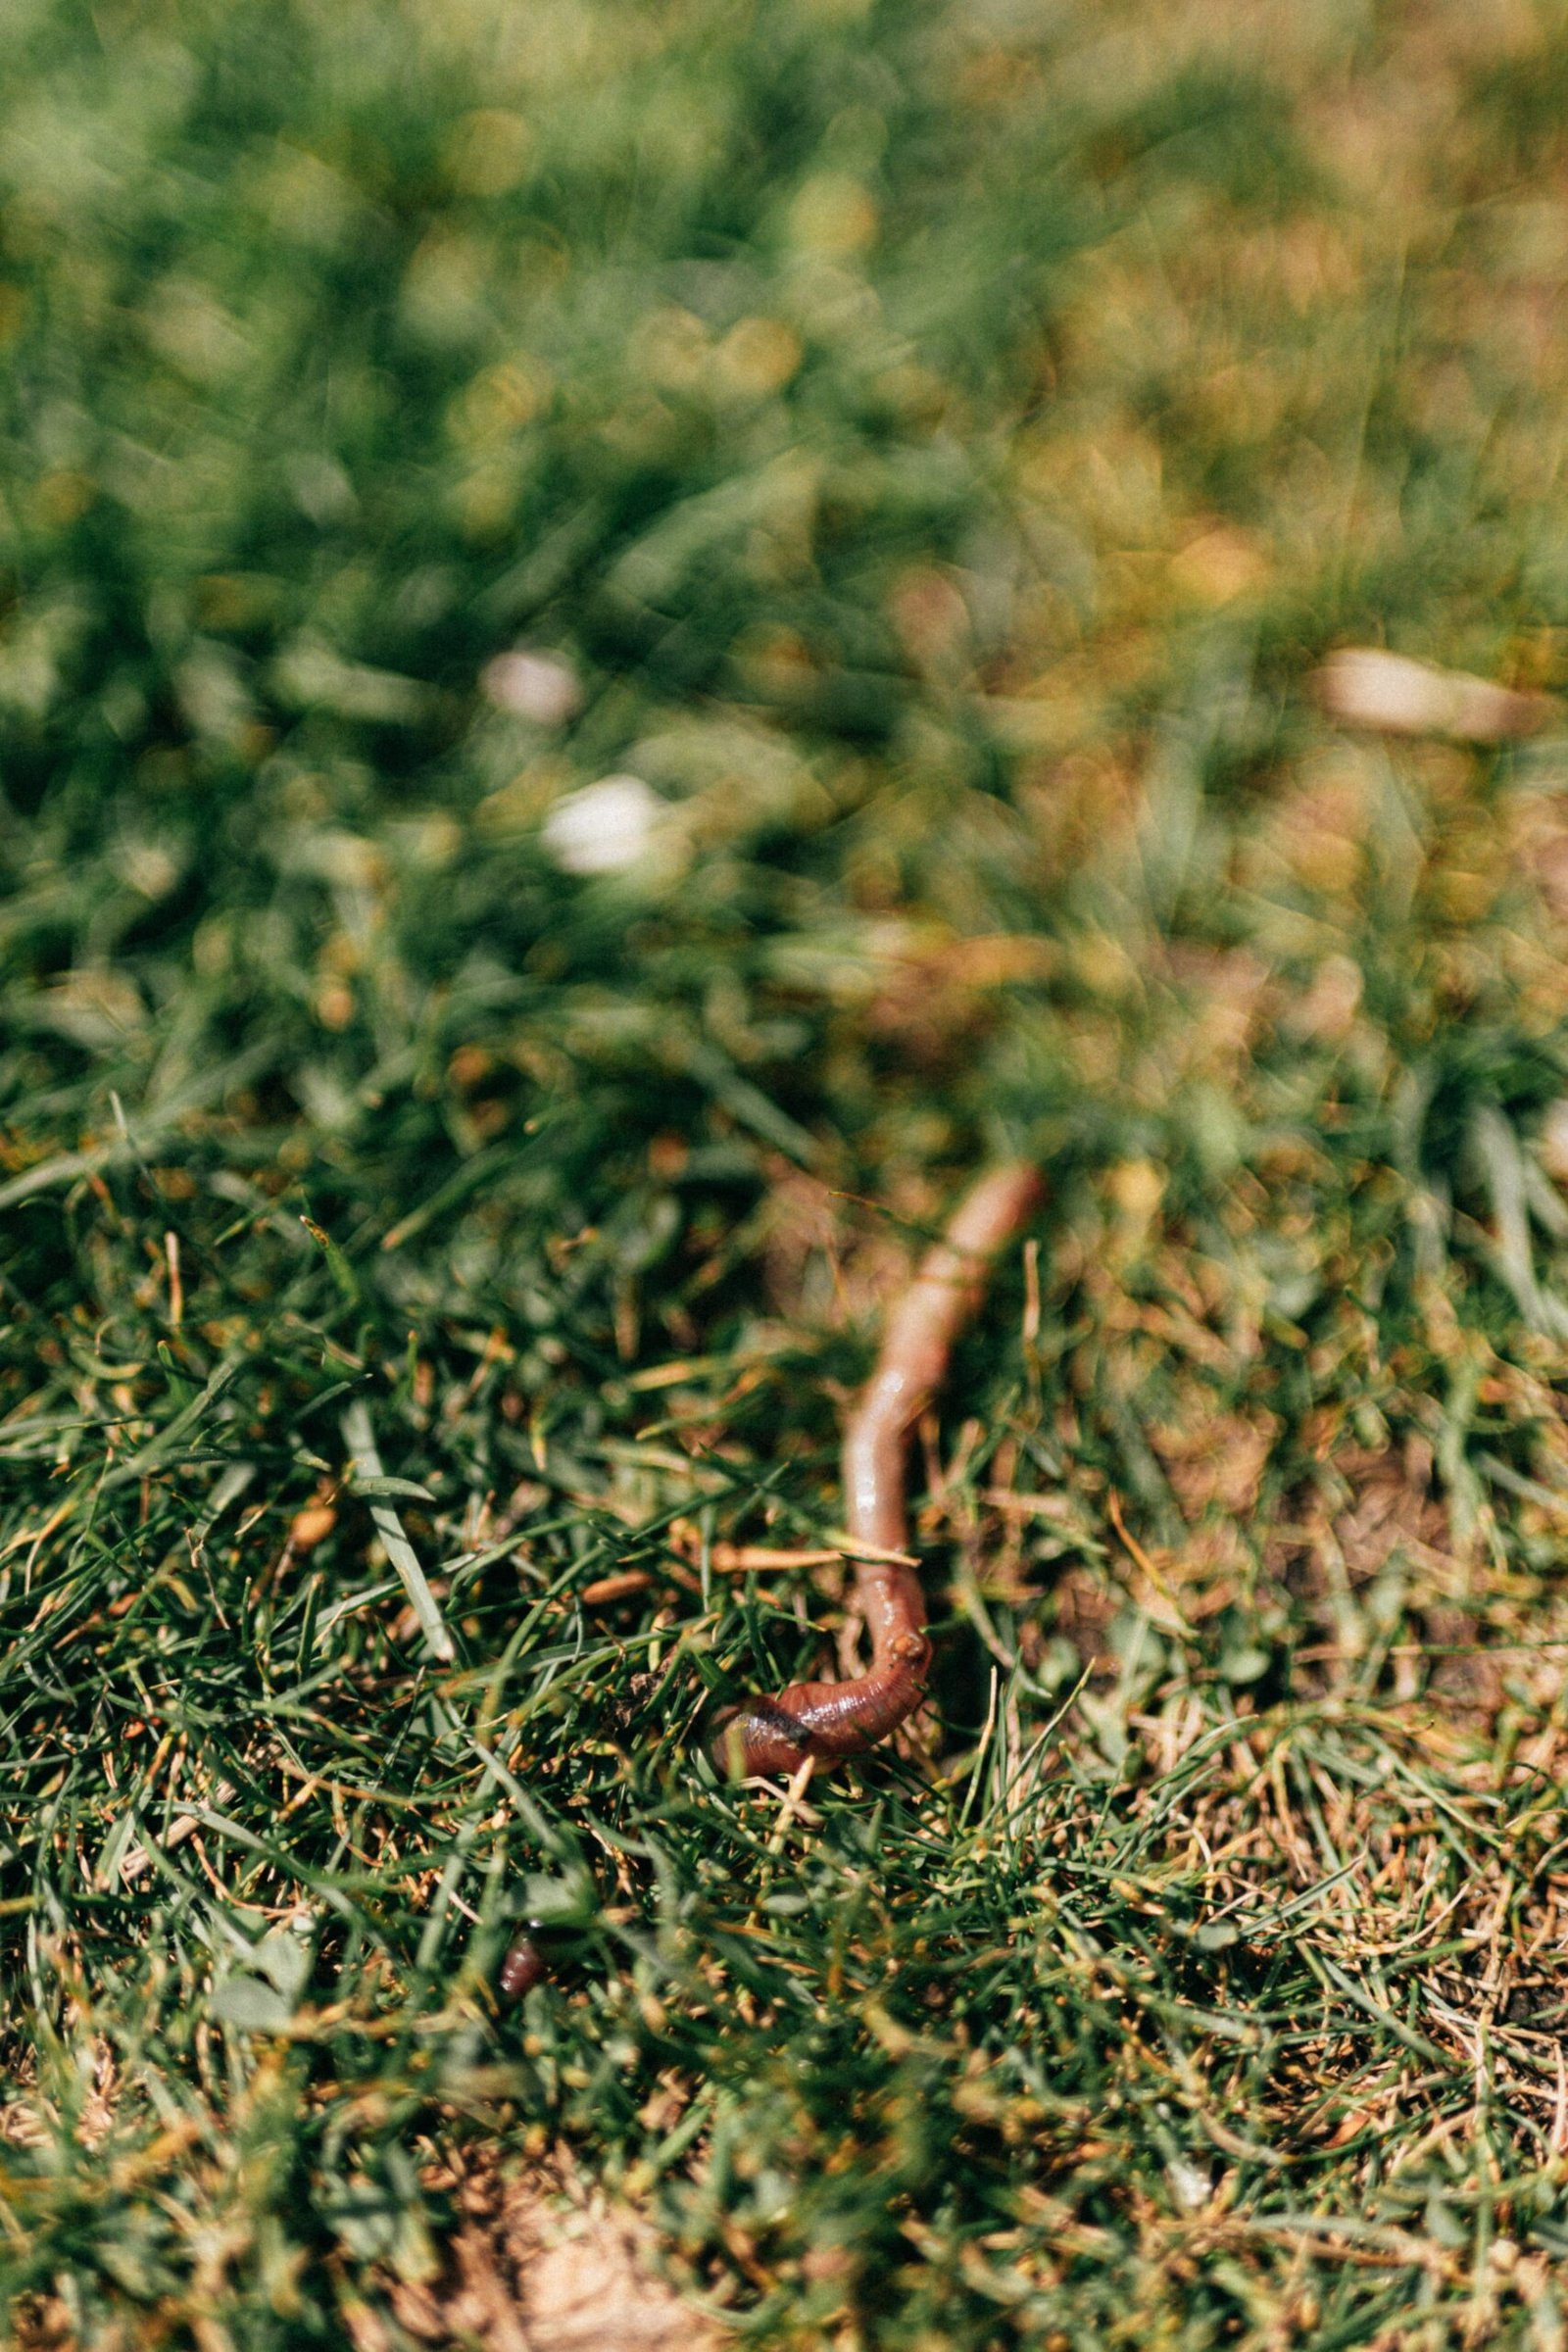
When it comes to vermiculture and worm composting, not all worms are created equal. Understanding the different types of worms is essential for selecting the right ones for your composting needs. The most common worm species used in vermiculture are Red Wiggler worms (Eisenia fetida) and European Nightcrawlers (Eisenia hortensis). These worms are well adapted to composting and thrive in the conditions provided in worm bins. They are voracious eaters and excellent decomposers, making them ideal for breaking down organic matter into nutrient-rich vermicompost.
Choosing the Ideal Species
The choice between Red Wiggler worms and European Nightcrawlers depends on various factors such as climate, location, and the amount of compost generated. Red Wiggler worms are better suited for indoor composting as they prefer a temperature range of 55°F to 77°F (13°C to 25°C). They are also more efficient at consuming food scraps compared to European Nightcrawlers. On the other hand, European Nightcrawlers can tolerate a wider temperature range, making them suitable for outdoor composting in areas with colder climates. They are also larger in size and can handle larger amounts of compost. Consider these factors when selecting the ideal species for your vermicomposting project.
Creating the Ideal Worm Bin
Selecting the Right Container
Choosing the right container for your worm bin is crucial for the success of your vermicomposting project. You have several options to choose from, including plastic bins, wooden boxes, or commercially available worm bins. Plastic bins offer affordability and durability, while wooden boxes provide natural insulation. Whichever container you choose, ensure that it has a lid and can be easily accessed for maintenance and harvesting.
Determining the Size of the Bin
The size of your worm bin will depend on the amount of compost you intend to produce and the available space. Generally, a bin with a volume of 2 to 3 cubic feet is sufficient for a household’s average food scraps. If you have limited space or generate a larger amount of compost, consider setting up multiple bins or opting for a larger container. Remember that worms reproduce quickly, so leave room for their population to grow.
Providing Adequate Ventilation
Worms require oxygen to thrive, so it is essential to provide adequate ventilation in your worm bin. This can be achieved by drilling small holes in the sides and bottom of the container to allow for airflow. Avoid overcrowding the bin with bedding material to ensure proper airflow and prevent the buildup of harmful gases. Maintaining good ventilation will promote a healthy environment for the worms.
Creating a Proper Drainage System
To prevent excess moisture buildup and maintain proper moisture levels, your worm bin should have a proper drainage system. This can be as simple as elevating the bin with bricks or using a tray or container underneath to collect excess liquid. Ensure that the drainage system allows for easy collection and disposal of excess moisture to prevent waterlogged conditions, which can be harmful to the worms.

Preparing the Bedding Material
Using High-Quality Organic Matter
Bedding material is essential in a worm bin as it provides a comfortable environment for the worms and aids in the decomposition process. High-quality organic matter such as shredded newspaper, cardboard, coconut coir, or straw can be used as bedding. Avoid using glossy or colored paper, as they may contain harmful chemicals. The bedding should be moistened before adding it to the worm bin to ensure a suitable habitat for the worms.
Ensuring Proper Moisture Levels
Maintaining proper moisture levels in the worm bin is crucial for the worms’ survival. The bedding material should be moist, but not overly wet. Aim for a moisture content similar to that of a wrung-out sponge. If the bedding feels too dry, mist it with water. If it feels too wet, add dry bedding material to absorb excess moisture. Regularly monitor the moisture levels and make adjustments as necessary to create an optimal living environment for the worms.
Monitoring Carbon-to-Nitrogen Ratio
Maintaining a balanced carbon-to-nitrogen (C:N) ratio in your worm bin is important for the decomposition process. The ideal C:N ratio for vermicomposting is around 25:1 to 30:1. Carbon-rich materials, such as shredded paper and cardboard, provide structure and a carbon source, while nitrogen-rich materials, such as fruit and vegetable scraps, supply the worms with essential nutrients. Monitor the C:N ratio by observing the decomposition process and adjusting the feedstock accordingly to ensure a healthy and efficient composting process.
Avoiding Harmful Substances
To create a safe and healthy environment for your worms, it is crucial to avoid adding harmful substances to the worm bin. Avoid using materials treated with pesticides or herbicides, as these can harm the worms. Additionally, avoid adding pet waste, meat, dairy, oily foods, and acidic materials to the worm bin, as these can attract pests, cause odor issues, and disrupt the balance within the bin. Stick to organic, plant-based materials for the best results.
Feeding the Worms
Choosing Suitable Food Scraps
Feeding your worms a balanced diet is essential for their health and the quality of the vermicompost they produce. Suitable food scraps for worms include fruit and vegetable peels, coffee grounds, tea leaves, crushed eggshells, and leafy greens. These materials provide the necessary nutrients for the worms to thrive and produce nutrient-rich vermicompost. Chop or blend the food scraps into smaller pieces to speed up the decomposition process and make it easier for the worms to consume.
Avoiding Meat, Dairy, and Oily Foods
While worms are excellent decomposers, there are certain food items they should not be fed. Avoid adding meat, dairy products, and oily foods to your worm bin. These materials can take longer to decompose, attract pests, and produce foul odors. They can also disrupt the balance within the worm bin and affect the overall health of the worms. Stick to plant-based, organic materials to ensure a healthy and thriving worm population.
Avoiding Toxic or Chemical Substances
To create a safe and productive environment for your worms, it is essential to avoid adding toxic or chemical substances to the worm bin. This includes household cleaning products, pesticides, weed killers, and any other chemical-laden materials. These substances can harm the worms and disrupt the delicate ecosystem within the bin. Stick to natural, organic materials to ensure the well-being of your worms and the quality of the vermicompost they produce.

Maintaining Ideal Conditions
Maintaining Proper Temperature
Worms thrive in certain temperature ranges, and maintaining the ideal temperature is crucial for their well-being. Red Wiggler worms prefer temperatures between 55°F and 77°F (13°C and 25°C), while European Nightcrawlers can tolerate a wider temperature range. If your worm bin is indoors, ensure that it is kept in a location that maintains a suitable temperature throughout the year. If your bin is outdoors, consider insulating it during colder months to protect the worms from extreme temperatures.
Monitoring pH Levels
Maintaining proper pH levels in the worm bin is important for the worms’ digestive processes. Worms prefer a slightly acidic to neutral pH range of 6.0 to 7.5. To monitor pH levels, you can use a simple pH testing kit available at gardening stores. If the pH is outside the ideal range, you can make adjustments by adding alkaline materials, such as crushed eggshells, to increase pH or acidic materials, such as coffee grounds, to decrease pH. Regularly monitoring and maintaining proper pH levels will help create a suitable environment for the worms to thrive.
Providing Sufficient Darkness
Worms are sensitive to light and prefer dark environments. To create optimal conditions for your worms, ensure that the worm bin is kept in a dark or dimly lit area. This can be achieved by covering the worm bin with a dark cloth or placing it in a shaded area. Excessive exposure to light can stress the worms and disrupt their feeding and reproducing patterns. Maintaining sufficient darkness will help create a comfortable environment for the worms and promote their overall health.
Avoiding Overcrowding
Overcrowding can negatively impact the worms’ health and the efficiency of the composting process. As worms reproduce rapidly, it is important to monitor and manage the population in your worm bin. If the population becomes too dense, consider transferring some worms to a new bin or sharing them with fellow gardeners. Keeping the worm population at an optimal level will ensure that there is enough space for the worms to move and for the decomposition process to occur efficiently.
Balancing the Worm Bin
Checking Moisture Levels Regularly
Regularly monitoring and maintaining proper moisture levels in your worm bin is essential for the worms’ well-being. Check the moisture content of the bedding material by squeezing a handful. It should feel like a wrung-out sponge – neither too wet nor too dry. If the bedding feels too dry, mist it with water. If it feels too wet, add dry bedding material to absorb excess moisture. Maintaining proper moisture levels will promote a healthy environment and prevent issues such as foul odors and anaerobic conditions.
Maintaining Carbon-to-Nitrogen Ratio
To ensure optimal decomposition and prevent issues such as foul odors and slow decomposition, it is important to maintain a balanced carbon-to-nitrogen (C:N) ratio in your worm bin. A C:N ratio of around 25:1 to 30:1 provides the ideal environment for the worms to break down organic matter efficiently. Adjust the feedstock accordingly by adding carbon-rich materials, such as shredded paper or cardboard, to balance out nitrogen-rich materials, such as fruit and vegetable scraps. Regularly monitoring and maintaining the C:N ratio will help ensure a healthy and productive worm bin.
Avoiding Excessive Accumulation of Worm Castings
Worm castings, also known as vermicompost, are the valuable end product of worm composting. While they are highly beneficial for plant growth, excessive accumulation of worm castings can hamper the worms’ activity and cause overcrowding. Regularly harvest the worm castings from the bin to create more space for the worms and prevent them from becoming stressed. Use the vermicompost as a nutrient-rich soil amendment in your garden or potted plants, and continue the composting process to produce more castings.

Managing Odor and Pests
Avoiding Food Scraps with Strong Odors
To prevent foul odors in your worm bin, it is important to avoid adding food scraps with strong odors. Certain foods, such as onions, garlic, spicy peppers, and citrus fruits, can produce strong smells that can be unappealing to the worms and attract pests. Consider composting these types of food scraps in a traditional compost pile instead of the worm bin. Stick to mild-smelling food scraps to maintain a pleasant environment for the worms.
Covering Food Scraps with Bedding
To further reduce odor issues and deter pests, cover the food scraps in your worm bin with a layer of bedding material. This will help contain any odors and prevent pests, such as fruit flies, from being attracted to the bin. The bedding material acts as a barrier and also aids in the decomposition process. Make sure to thoroughly mix the food scraps with the bedding to ensure proper decomposition and avoid any pockets of rotting material.
Maintaining Proper Moisture to Avoid Fruit Flies
Fruit flies are a common nuisance in worm bins, but their presence can be minimized by maintaining the proper moisture levels. Fruit flies are attracted to moist environments, so ensuring that the worm bin is not overly wet will help prevent their infestation. Regularly monitor the moisture levels and make adjustments as necessary to keep the bedding moist but not waterlogged. Additionally, covering the bin with a breathable cloth or lid can help deter fruit flies from entering the bin.
Controlling Worm Predators and Pests
To safeguard your worm population from predators and other pests, it is important to take preventive measures. Keep the worm bin elevated to discourage ground-dwelling pests from accessing it. To deter larger pests such as rodents, ensure that the bin is secure and inaccessible to them. Regularly monitor the bin for signs of pests and take appropriate measures such as using traps or natural repellents if necessary. Maintaining a clean and well-maintained bin will help prevent unwanted visitors and protect your worms.
Harvesting and Using Vermicompost
Determining When the Compost is Ready
Determining when the vermicompost in your bin is ready for harvesting is an exciting milestone in your vermiculture journey. The compost is ready when it has a dark, crumbly texture, and most of the original waste materials have been broken down by the worms. A general guideline is to wait for 2 to 6 months, depending on the conditions and the amount of compost generated. If you see a large number of worms still present in the bin, it may be best to wait a bit longer to allow them to finish processing the remaining materials.
Separating Worms from the Compost
To separate the worms from the vermicompost, several methods can be used. One effective technique is to create two distinct piles of vermicompost, with one pile containing fresh bedding material. Place the fresh bedding material on one side of the bin and the nearly finished compost on the other side. As worms are light-sensitive, they will migrate towards the fresh bedding, leaving the vermicompost on the other side. After a few days, remove the vermicompost from the bin, taking care to return any remaining worms to the fresh bedding.
Storing and Using Vermicompost
Once harvested, you can store your vermicompost in a container with a lid to preserve its quality. Keep the container in a cool, dry place to prevent moisture buildup and maintain the beneficial properties of the compost. Use the vermicompost as a soil amendment in your garden beds, container plants, or as a top dressing for houseplants. The rich nutrients and beneficial microorganisms in vermicompost provide essential elements for plant growth and improve soil fertility. Enjoy the fruits of your vermiculture efforts and witness the positive impact it has on your plants.
Expanding and Managing the Worm Population
Monitoring Worm Reproduction
Worms are prolific breeders, and monitoring their reproduction is essential for managing the population in your worm bin. You may notice clusters of small, white eggs called cocoons in the bin, which indicates that the worms are reproducing. These cocoons hatch, and baby worms emerge, adding to the population. Regularly observe the bin for an increase in worm numbers to ensure that the population remains at manageable levels.
Providing Ideal Conditions for Breeding
To encourage and support the breeding process, create ideal conditions within the worm bin. Ensure that the worms have a comfortable environment with appropriate moisture levels, adequate food supply, and suitable bedding materials. Monitor the temperature, moisture levels, and food availability to foster optimal breeding conditions for the worms. As the worm population increases, consider expanding to additional bins or sharing worms with other vermicompost enthusiasts in your community.
Controlling Population if Needed
If the worm population becomes too large or difficult to manage, it may be necessary to control the population size. You can reduce the amount of food provided to slow down reproduction and allow the population to stabilize. Additionally, you may choose to distribute excess worms to other gardeners or composting enthusiasts in your community. By taking proactive steps to control the population, you can ensure a healthy and manageable worm population in your vermicomposting system.
Educating and Engaging the Community
Promoting Vermiculture Benefits
One of the best ways to spread the practice of vermiculture and worm composting is by educating others about its numerous benefits. Share information about how vermiculture reduces waste, conserves resources, and produces nutrient-rich compost. Highlight the positive impacts on soil health, plant growth, and the environment. Emphasize the simplicity and accessibility of vermiculture, making it suitable for both urban and rural settings. By promoting the benefits of vermiculture, you can inspire others to adopt this sustainable practice.
Organizing Workshops and Demonstrations
Organizing workshops and demonstrations is an effective way to engage the community and provide hands-on learning opportunities. Offer workshops on vermiculture basics, bin setup, and maintenance. Demonstrate the proper techniques for harvesting vermicompost and show participants how to use it in their gardens. Invite local experts or experienced worm composters to share their knowledge and insights. By bringing people together and offering practical guidance, you can empower individuals to start their own vermiculture projects.
Establishing Community Vermiculture Programs
To further encourage community involvement in vermiculture, consider establishing community vermiculture programs. Collaborate with local organizations, schools, community gardens, or municipal authorities to set up communal worm bins. Provide the necessary resources, training, and support to help individuals and groups get started with their own vermiculture projects. Encourage participation and create opportunities for community members to exchange knowledge, share experiences, and collectively contribute to a sustainable and environmentally friendly community.
By following these best practices for urban vermiculture and worm composting, you can create a successful and thriving worm bin, produce nutrient-rich vermicompost, and make a positive impact on the environment. Start your vermiculture journey today and join the growing community of vermicompost enthusiasts making a difference in their communities. Happy composting!