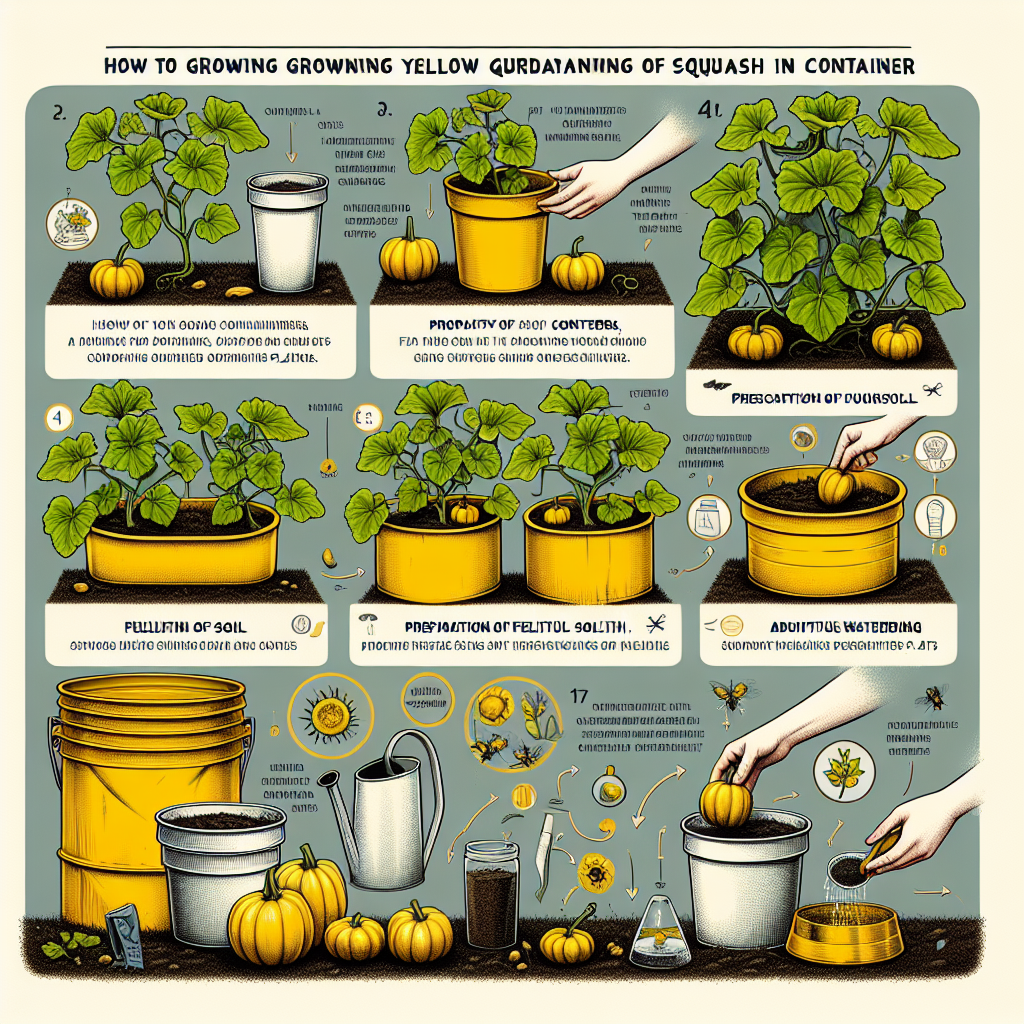
If you’ve always dreamed of growing your own yellow squash but lack the space for a traditional garden, fear not! This guide will show you how you can be growing yellow squash in containers, allowing you to enjoy the delicious taste of homegrown vegetables even if you have limited outdoor space. Discover the essential tips and techniques to create a thriving container garden filled with vibrant yellow squash, making your gardening dreams a reality.
Growing Yellow Squash in Containers Starts with Choosing the Right Container
Size and Depth
When choosing a container for your yellow squash, it’s important to consider the size and depth. Yellow squash plants require a large enough container to accommodate their extensive root system. A container with a minimum size of 12 inches in diameter and depth of 12 inches is recommended. This will allow enough space for the plant to grow and develop healthy roots. Keep in mind that larger containers will provide more room for the plant to thrive.
Material
The material of your container is another important factor to consider. Clay or terracotta pots are popular choices as they provide good drainage and breathability for the soil. However, they can be quite heavy and prone to cracking in cold temperatures. Alternatively, plastic or resin containers are lightweight, durable, and available in a variety of sizes and styles. Whichever material you choose, ensure that it has drainage holes at the bottom to allow excess water to escape.
Drainage
Proper drainage is crucial for container gardening success, especially for yellow squash plants. Without adequate drainage, the soil can become waterlogged, leading to root rot and other plant diseases. To ensure proper drainage, choose a container that has drainage holes at the bottom. You can also place a layer of small rocks or gravel at the bottom of the container before adding the soil. This will help prevent the drainage holes from getting clogged and ensure that excess water can freely flow out of the container.
Selecting the Right Soil for Growing Yellow Squash in Containers
Loam Soil
Yellow squash plants thrive in loam soil, which is a well-balanced mixture of sand, silt, and clay. Loam soil provides good drainage while retaining enough moisture for the plant’s roots. It also allows for proper aeration, essential for a healthy root system. Consider using a high-quality potting mix that is specifically formulated for container gardening. These mixes often contain a blend of organic matter, perlite, and vermiculite, which provide the perfect balance of nutrients and moisture retention for your yellow squash plants.
Compost
Incorporating compost into your container soil can greatly benefit your yellow squash plants. Compost is rich in organic matter and essential nutrients that promote plant growth and improve soil structure. It also helps retain moisture and increases the soil’s ability to hold nutrients. You can either purchase compost or create your own by composting kitchen scraps, yard waste, and other organic materials. Mix compost into your potting mix at a ratio of about 20-30% to provide your yellow squash plants with the best growing conditions.
pH Level
The pH level of the soil is another important consideration when selecting soil for your yellow squash plants. Yellow squash plants prefer slightly acidic to neutral soil with a pH range between 6.0 and 7.0. You can test the pH level of your soil using a soil testing kit available at most garden centers. If the pH level is too high or too low, you can adjust it by adding organic matter such as peat moss or sulfur for acidic soil, or lime for alkaline soil. Ensuring the correct pH level will help your yellow squash plants absorb nutrients more effectively and thrive in their container.
Positioning the Container for Your Yellow Squash
Sunlight Requirements
Yellow squash plants require full sun to grow and produce a bountiful harvest. Ensure that you position your container in a location that receives at least six to eight hours of direct sunlight per day. Placing the container in an area with south or southwest exposure is ideal. If you have limited sunny spots, consider using a wheeled container so you can easily move it throughout the day to maximize sun exposure. Adequate sunlight is essential for strong growth, flower production, and setting fruit in your yellow squash plants.
Temperature
Yellow squash plants thrive in warm temperatures. They prefer daytime temperatures between 70-85°F (21-29°C) and nighttime temperatures above 60°F (15°C). Avoid placing your container in areas that experience extreme temperature fluctuations or cold drafts. If you live in a region with colder climates, consider using a container with insulation or placing the container near a sunny wall or structure that can provide some warmth and protection from cold temperatures.
Protection from Wind
Yellow squash plants can be susceptible to wind damage, especially when grown in containers. Strong winds can topple the plant, break branches, or damage delicate flowers and fruit. To protect your yellow squash plants from wind, choose a sheltered location or create a windbreak using a fence, trellis, or other tall objects. If wind gusts are frequent in your area, consider placing your container near a sturdy support or using stakes to secure the plant. Protecting your plants from strong winds will help ensure their health and prevent potential damage.
Preparing the Container
Cleaning and Sanitizing
Before planting your yellow squash in a container, it’s important to clean and sanitize the container to prevent the spread of diseases and pests. Start by thoroughly cleaning the container with soap and water to remove any dirt or debris. If your container has been used before, scrub off any residue and sterilize it by soaking it in a solution of 9 parts water to 1 part bleach for about 30 minutes. Rinse the container thoroughly with water to remove any remaining bleach. This will help create a clean and disease-free environment for your yellow squash plants to thrive.
Adding Drainage
As mentioned earlier, proper drainage is crucial for container gardening success. To enhance drainage in your container, you can add a layer of small rocks or gravel at the bottom before adding the soil. This helps prevent soil compaction and allows excess water to flow freely out of the drainage holes. Additionally, you can place a drainage tray or saucer underneath the container to collect any excess water. Ensure that the container is slightly elevated on the saucer to prevent the roots from sitting in water, which can lead to root rot.
Nutrient Enhancement
To ensure your yellow squash plants have an ample supply of nutrients, consider enhancing the soil with organic matter and slow-release fertilizers. Incorporating well-rotted compost or organic matter into the soil can provide a continuous source of nutrients as they break down. Additionally, you can mix slow-release fertilizers into the potting mix before planting or use a liquid fertilizer during the growing season to supplement the plant’s nutrient needs. Providing sufficient nutrients will help your yellow squash plants grow vigorously and produce a more abundant harvest.
Starting Seeds or Transplants
Seed Selection
When starting yellow squash from seeds, choose varieties that are well-suited for container gardening. Look for compact or bush varieties that don’t sprawl too much and have a smaller overall size. Some popular container-friendly yellow squash varieties include ‘Golden Boy,’ ‘Sunbeam,’ and ‘Patty’s Summer.’ Consider purchasing high-quality seeds from reputable sources to ensure good germination and plant health.
Transplanting Seedlings
If you prefer to start with transplants, select healthy and vigorous yellow squash seedlings from a reputable nursery. Ensure that the seedlings have developed a strong root system before transplanting them into the container. Gently loosen the root ball and place the seedlings into pre-dug holes in the potting mix, making sure not to bury the stem too deeply. Fill the remaining space with soil, gently firming it around the base of the seedling. Water the newly transplanted seedlings thoroughly to help them settle in and establish themselves in the container.
Spacing and Quantity
Proper spacing is crucial for container-grown yellow squash plants to allow for healthy growth and airflow. For bush varieties, a single plant is usually sufficient for a 12-inch container. However, if you have a larger container, you can plant multiple plants, spacing them about 12-18 inches apart. If you’re growing vining or climbing yellow squash varieties, ensure you have a trellis or support system in place to train the plants upwards. Follow the spacing guidelines provided on the seed packet or plant label to ensure optimal growth and yield.
Watering and Moisture for Growing Yellow Squash in Containers
Watering Frequency
Proper watering is essential for the health and productivity of your yellow squash plants. Keep the soil consistently moist but not waterlogged. As a general guideline, water your container whenever the top inch of soil feels dry to the touch. Container-grown plants may require more frequent watering compared to those grown in the ground, as they dry out more quickly. During hot summer months, you may need to water your yellow squash plants daily or even twice a day. Check the moisture levels regularly to ensure your plants receive the proper hydration they need.
Moisture Levels
While it’s important to keep the soil consistently moist, be cautious of overwatering, as it can lead to root rot and other issues. To determine the moisture levels in your container, gently insert your finger about an inch into the soil. If it feels dry, it’s time to water. If it feels moist, wait a day or two before checking again. You can also use a moisture meter to get more accurate readings. It’s better to slightly underwater than overwater, as yellow squash plants can recover from slight drought stress, but they are more vulnerable to root diseases caused by excessive moisture.
Mulching
Applying a layer of mulch around your yellow squash plants can help regulate soil moisture levels and suppress weed growth. Organic mulches such as straw, wood chips, or compost can help retain moisture, keeping the soil cooler during hot summer months. Apply a layer of mulch about 2-3 inches thick, making sure to leave a small gap around the base of the plant to prevent moisture buildup on the stem. Mulching not only conserves water but also adds organic matter to the soil as it breaks down, providing additional nutrients for your yellow squash plants.
Fertilizing and Nutrient Requirements
Organic Fertilizers
To provide your yellow squash plants with a steady supply of nutrients, consider using organic fertilizers. Organic fertilizers are derived from natural sources and release nutrients slowly, promoting long-term soil health. You can choose from a variety of organic fertilizers such as compost, well-rotted manure, bone meal, or fish emulsion. Follow the package instructions for application rates and timings. Organic fertilizers not only nourish your plants but also contribute to improving the overall soil structure and fertility in your container.
NPK Ratio
When choosing fertilizers for your yellow squash plants, pay attention to the NPK ratio. NPK stands for nitrogen, phosphorus, and potassium, which are the three primary macronutrients required by plants. Yellow squash plants generally require a balanced fertilizer with an equal or slightly higher nitrogen (N) content compared to phosphorus (P) and potassium (K). For example, a general-purpose fertilizer with an NPK ratio of 10-10-10 or 14-14-14 can be suitable for your yellow squash plants. Ensure that you follow the recommended application rates and avoid over-fertilizing, as it can lead to nutrient imbalances and plant stress.
Micronutrients
In addition to the primary macronutrients, yellow squash plants also require various micronutrients for optimal growth and development. Micronutrients include elements such as iron, manganese, zinc, copper, and others. These micronutrients are essential for healthy plant growth, enzyme function, and overall plant metabolism. To ensure that your yellow squash plants receive these micronutrients, consider using a balanced organic fertilizer or supplementing with liquid micronutrient sprays. Regularly monitoring the plant’s foliage for any nutrient deficiencies can help you identify and address micronutrient issues promptly.
Pest and Disease Control
Common Pests
Yellow squash plants are vulnerable to various pests that can affect their growth and productivity. Common pests that may attack your yellow squash include aphids, squash bugs, cucumber beetles, and vine borers. These pests can cause wilting, leaf damage, or transmit diseases to your plants. Regularly inspect your plants for any signs of pest infestation, such as chewed leaves or discolored foliage. Early detection allows for more effective pest management strategies and helps prevent the population from spreading and causing significant damage.
Natural Pest Control
When it comes to pest control in container gardening, it’s best to opt for natural and organic methods. Introducing beneficial insects like ladybugs or lacewings can help control aphids and other soft-bodied pests. You can also encourage pollinators like bees and butterflies to your garden, as they play a crucial role in pollinating squash flowers. Additionally, practicing good garden hygiene, such as removing any affected leaves or cleaning up plant debris, can help minimize pest populations. If necessary, you can also use organic insecticides or insecticidal soaps for more severe infestations.
Identifying Diseases
Yellow squash plants can be susceptible to various diseases, such as powdery mildew, bacterial wilt, or fungal infections. Identifying these diseases early on can help you take appropriate measures to prevent further spread. Watch for signs of yellowing leaves, wilting, or unusual growth patterns. If you notice any abnormal symptoms, consult a local extension service or gardening expert to help identify the specific disease and recommend suitable treatment options. Proper sanitation, good air circulation, and selecting disease-resistant varieties can help minimize the risk of diseases in your yellow squash plants.

Supporting and Training the Plants
Staking
Staking is a common method used to support and train yellow squash plants, especially vining or climbing varieties. As the plants grow, they tend to become top-heavy with large leaves and heavy fruit. Staking helps prevent the plants from sprawling on the ground and keeps them upright. Drive a sturdy stake into the container, making sure it is securely anchored in the soil. Gently tie the main stem of the plant to the stake using soft plant ties or fabric strips. This will provide support and prevent the plant from bending or breaking. Regularly check the ties to ensure they are not too tight to avoid constriction of the stem.
Caging
Caging is another effective method to support and train yellow squash plants. Use a wire cage or construct a cage using stakes and chicken wire or metal fencing. Place the cage firmly in the container, ensuring it provides enough space for the plant to grow. As the plant grows, gently guide the main stem through the cage openings and secure any side branches to the cage using plant ties. Caging helps support the plant’s weight and prevents it from sprawling on the ground, maximizing your container space and making it easier to manage and harvest the squash fruits.
Trellising
Trellising is particularly suitable for vining or climbing yellow squash varieties. Install a trellis or vertical support system at the back of the container, providing a sturdy structure for the plants to climb. As the squash plants grow, gently train the main stem to weave through the trellis, securing it with plant ties, if necessary. The trellis allows the plants to grow vertically, saving space and making it easier to manage and harvest the fruits. It also promotes better airflow, reducing the risk of fungal diseases and providing more light and sun exposure to the entire plant.
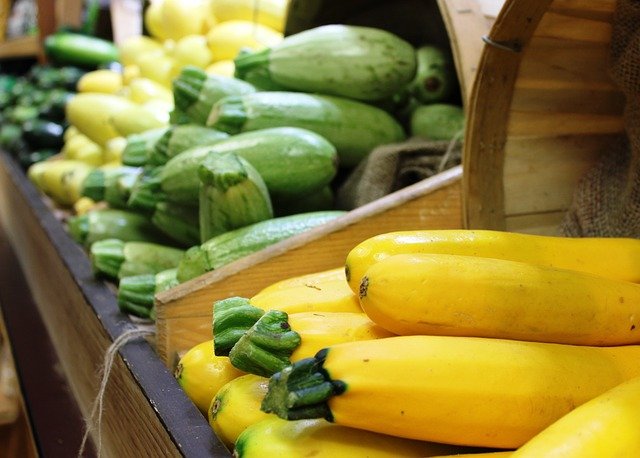
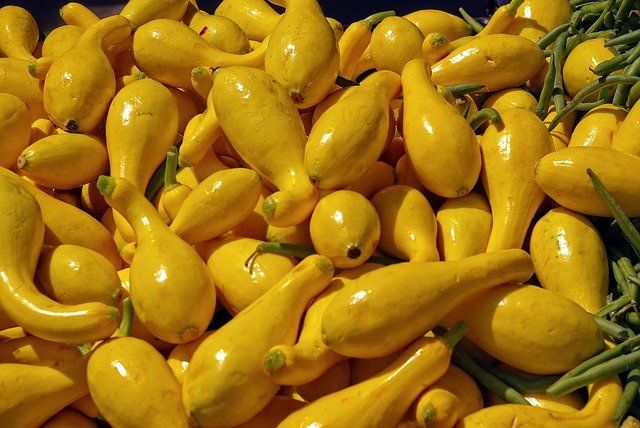
Harvesting and Storage of Your Yellow Squash
Maturity
Knowing when to harvest your yellow squash is essential for the best flavor and texture. Yellow squash is typically harvested when it reaches a size of 6-8 inches in length and has a firm texture. Avoid letting the squash become excessively large, as it can become tough and less flavorful. Regularly check and harvest your yellow squash every 2-3 days to ensure they are at their peak of freshness and tenderness. Harvesting regularly also encourages the plant to continue producing more fruit throughout the growing season.
Harvesting Techniques
To harvest your yellow squash, use a sharp knife or garden shears to gently cut the squash from the stem, leaving a small portion of stem attached. Be careful not to damage the plant while harvesting. Harvesting in the early morning or late evening when the temperatures are cooler can help preserve the quality and flavor of the squash. After harvesting, gently wipe off any dirt or debris from the squash and store them properly.
Storage Guidelines
Yellow squash is best enjoyed fresh, but it can also be stored if you have a surplus harvest. To extend the shelf life, store the yellow squash in a cool, dry place or in the refrigerator. If storing in the refrigerator, wrap the squash in a paper towel or place them in a perforated plastic bag to maintain moisture levels. Avoid washing the squash before storage, as excess moisture can lead to spoilage. Use stored yellow squash within a week for optimal freshness and flavor.
By following these tips and guidelines, you can successfully grow yellow squash in containers. Whether you have limited space or want to add some versatility to your gardening, container gardening is a convenient and rewarding way to grow your own fresh vegetables. Enjoy the process and have fun experimenting with different container sizes, varieties, and techniques. Soon, you’ll be harvesting your own delicious yellow squash from your container garden. Happy gardening!